With today’s tech, you don’t need a fancy camera or a professional photographer to create amazing photos for your business. Sure, there’s definitely a time and place for hiring a pro, but you’d be surprised at how much you can do with just your phone. In fact, here at Seventh Scout, we use phone photos all the time—in our decks, on our website, and across social media.
So, let’s dive into some easy, practical tips on how you can take better photos for your business, whether you’re using a camera or a phone.

Showcasing Your Brand with Photos
When it comes to professional service companies, figuring out how to showcase your brand can feel tricky. Unlike product-based businesses, you may not have a physical object to photograph.
Here’s my tip: Think of your brand in two ways—your people and your results. Suddenly, you’ve got subjects to photograph!
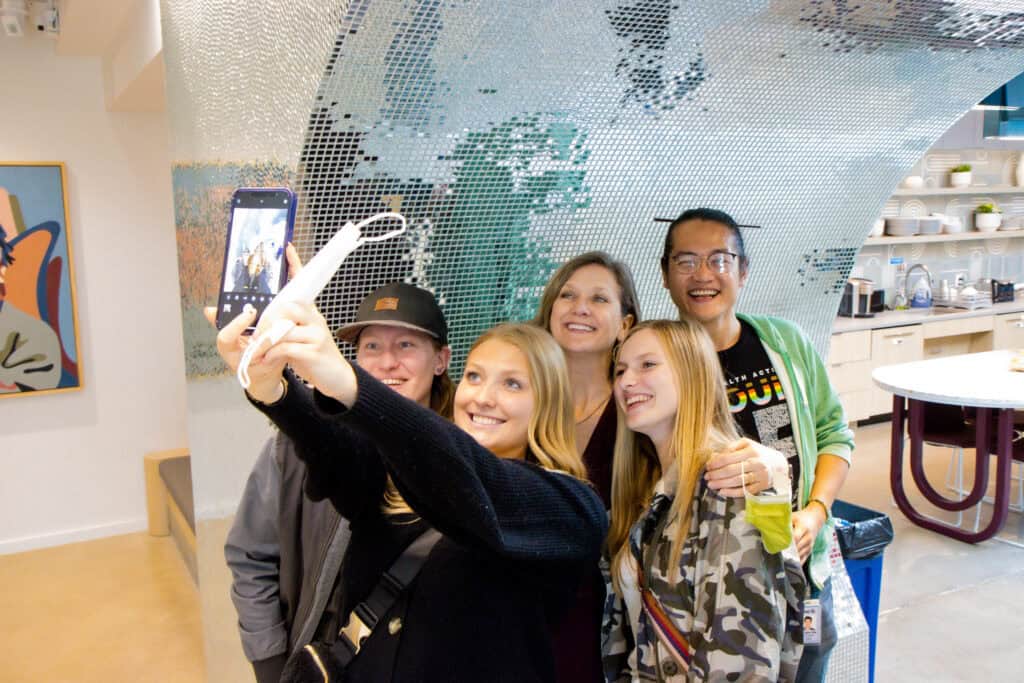
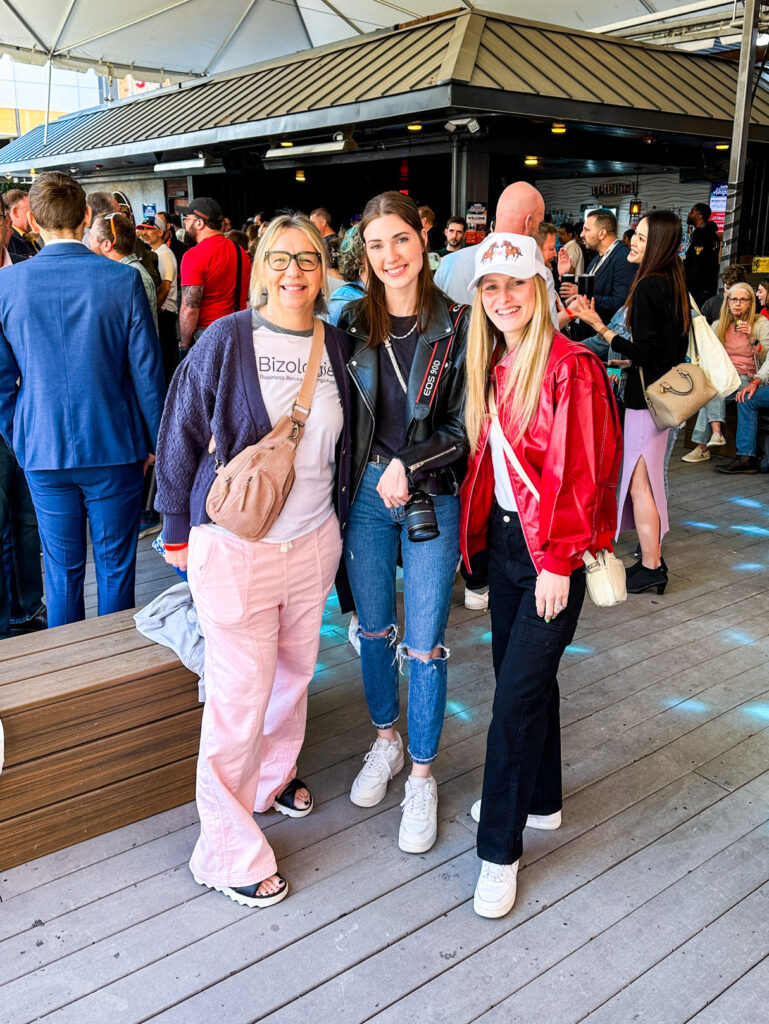
People: Capture group shots, individual team members, candid photos of people at work or during team activities. It’s a great way to show the human side of your business and help clients connect with the people behind the service.
Results: Some industries have a tangible final product (real estate, infrastructure, tools), but for others—like telecom or cybersecurity—the outcome isn’t as obvious. In that case, think about how your service impacts your clients’ lives. For example, photograph someone sending an email on a device connected to a network you set up or enjoying seamless Wi-Fi in a previously spotty area. It’s all about showing the end result in action.
Easy Tips for Better Business Photos
Now that you’ve got an idea of what to photograph, let’s talk about how to take photos that really stand out—especially when using your phone!
1. Light, Light, Light!
Lighting can make or break your photo. Natural light is your best friend—soft, diffused sunlight works great, especially for portraits. Avoid direct sunlight, which can create harsh shadows on people and objects… and make people squint! Also, watch out for backlighting, where the light source is behind your subject, unless you’re intentionally going for a silhouette effect.


Try different angles to prevent sun glares and backlighting. If you can, be considerate of the time you are taking images.
2. Nail the Composition
A little composition magic goes a long way. Try using the rule of thirds—imagine your screen divided into a 3×3 grid (you can turn this tool ‘on’ for most cell phones), and place your subject along those lines. It’s more pleasing to the eye! Watch for leading lines (like roads or pathways) to draw attention to your subject. Also, don’t forget to check your background—avoid random distractions like trash cans or trees “growing” out of someone’s head!
Bonus Tip: Don’t zoom in with your phone—it’ll just make the image grainy. Instead, move closer to your subject to keep the quality sharp.


Left Photo — Uses leading lines in the foreground to direct your attention to the subject, which is aligned in the composition using the rule of thirds.
Right Photo—Subjects are aligned using the rule of thirds. The photo is also composed to include the subject’s motion, keeping additional space for the arm.
3. Focus Like a Pro
Tapping your phone screen to focus can make a huge difference. That little yellow square you see? That’s your phone locking in on the right spot. If you don’t do this, your phone might guess—and guess wrong—so tap to focus and get the clarity you want.
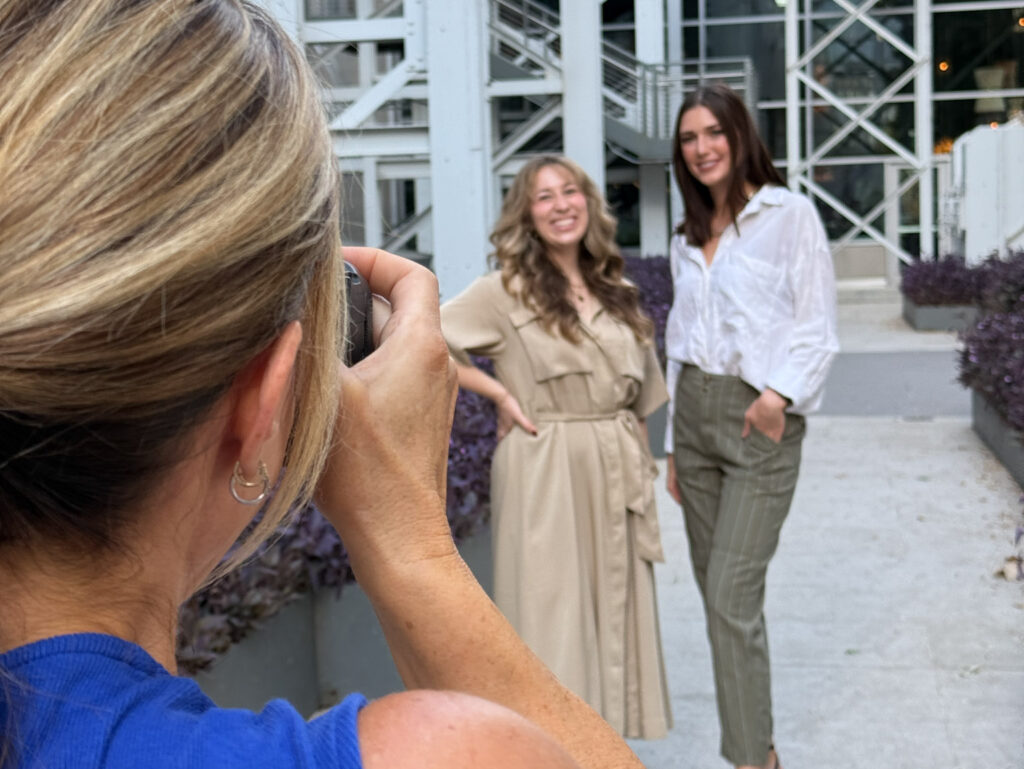

Play with focus! There can be a fun and creative edge to your images by changing the subject in focus. Here are two examples of different subjects in focus.
Editing Photos Like a Pro (on Your Phone)
Once you’ve taken the shot, it’s time to edit! Your phone has built-in tools that are pretty powerful. Here’s a quick rundown of what they do:
- Exposure: Makes the image brighter or darker.
- Brilliance: Adds contrast and brightens dark areas.
- Highlights: Adjusts only the lightest parts of your image.
- Shadows: Lightens or darkens just the shadows.
- Saturation & Vibrance: Controls how intense the colors are.
- Sharpness: Adds clarity, making details pop.
- Vignette: Darkens or lightens the corners for a nice framing effect.
Pro Tip: There are loads of manual adjustments you can make to your photos, but before you dive in, it’s important to have a clear idea of what you want your final image to look like. For example, if you want to brighten your photo, start by adjusting the Highlights, Shadows, and Contrast to see how they affect the overall image.
It’s easy to get overwhelmed if you start making random adjustments without a plan. Don’t believe me? Try this: Make a copy of your photo and edit each version with different adjustment sequences. You’d be surprised at how different the final results will look. Each tweak impacts how your eyes perceive the image, so having a vision before you start helps you stay on track and avoid editing overload.
Original Image

Edit #1

Edit #2

When to Bring in the Pros
Of course, there are times when you’ll want to bring in a professional photographer. But remember, “photographer” is a very generalized term—we are NOT all the same. If you need images for your business, you’ll want a specialist who can truly bring your brand to life.
Here are a few things to think about when hiring a photographer:
- Do you need posed images, lifestyle shots, or final product images?
- Does their editing style (bright and colorful, black and white, light and airy) fit your brand?
- Do you want studio shots or on-location photos?
- How many images do you need, and what’s included in the package?
Need some advice on photos for your business? Reach out to us at Seventh Scout—we’d love to help you capture your brand in the best light!


